Starting Over

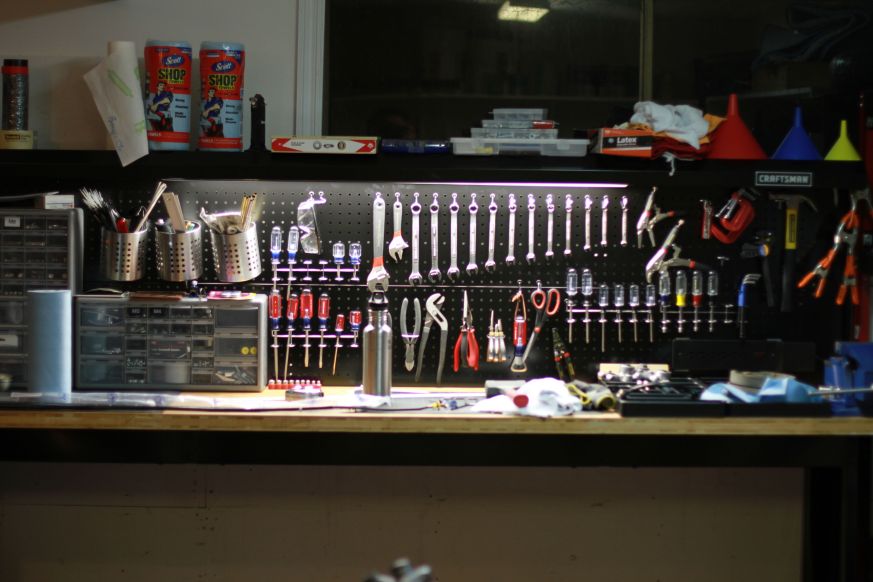
Setting up the  workshop in my garage begins. Beats the hell out of the basement I was in back in Massachusetts. Had to spend a couple days degreasing the concret floor, which had about 30 years of oil losing cars parked on it. Figured the place would go up in flames if a spark hit the ground. The carpet will have to be replaced with some padded plastic somethin’ or other once I’m up and running with a welder. More on buying a welder another day.

About took off my finger installing this Craftsmen 8′ Workbench. Total pain in the ass to put together as are most craftsmen bench and shelving units. After you bend everything back from getting beat up in transit you need to follow the cryptic instructions. I about guillotined my finger trying to install the back panel light. It’s a two man job I was trying to do by myself. One side slipped off and my finger was smashed between the back panel and the top light cover. Took about 2 weeks to get feeling back. But now I’m one step closer to getting organized.

Next will be a shelving unit to hold all the old and new parts during the SR build. Which I’ve decided to start over and do right. Before I wasn’t thinking I would not paint the frame or any other part on the bike. I wanted the older look but found the previous owner just rattle caned the hubs, thus some of the spokes and even the engine. It looks good 10 feet away but now that I’m putting so many hours into rebuilding and have another bike to take me to work on the rainy days I can completely build the SR250 to be pristine. Thus I’m starting over, breaking it all down to clean up everything nice and proper.
Rear Fender / Shocks

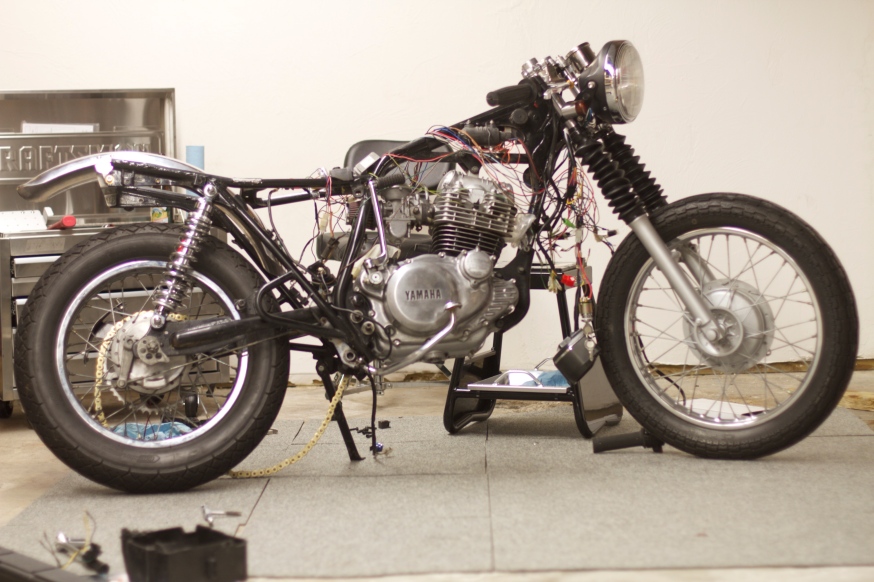
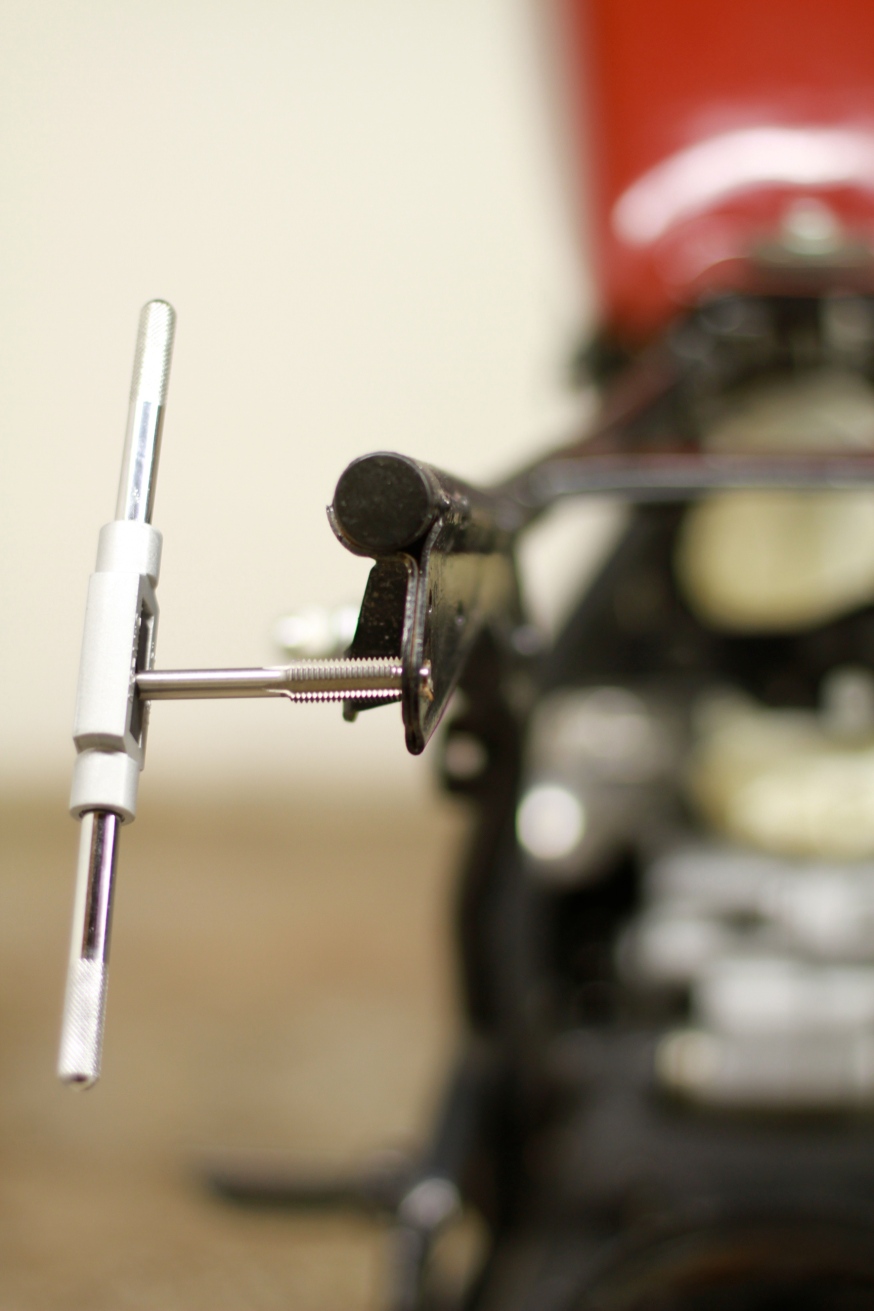
Did a ton of work tonight. Fitted the new rear fender and found out I mounted the blinkers incorrectly . The fender and blinker mounts needed to be switched. Which means I need to tap the frame to create a larger hole to hold the blinkers.

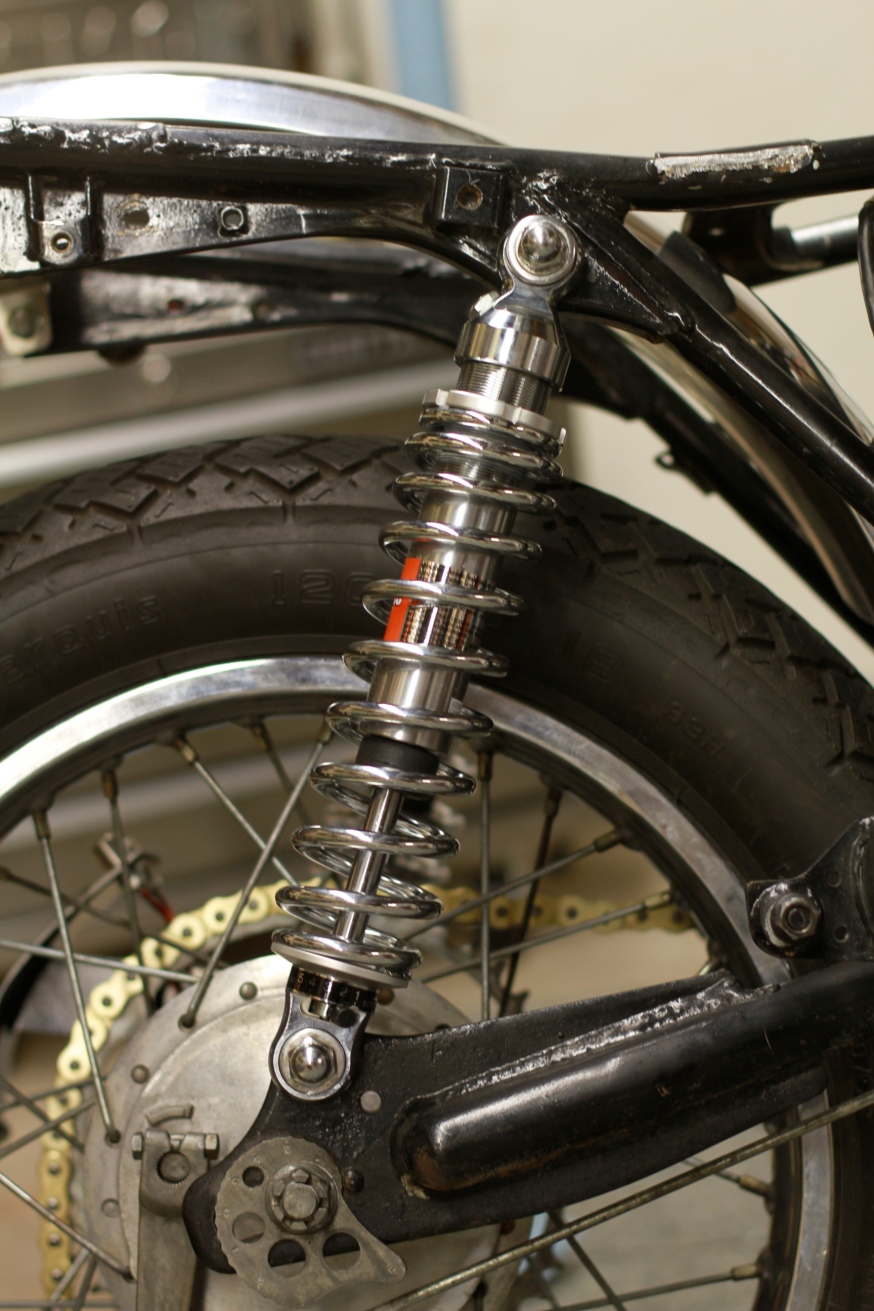
Put on the Bitubo 320mm shocks today. The previous shocks where around 285mm so I gained a couple inches. I’ll need it since the new seat will be 2-3in lower. I have a feeling this bike will very cramped for my 6′ 1″ frame.

New Bitubo shocks. I’m hoping these will be better than the stock version. The streets of Belmont are so bad that I would constantly bottom out.

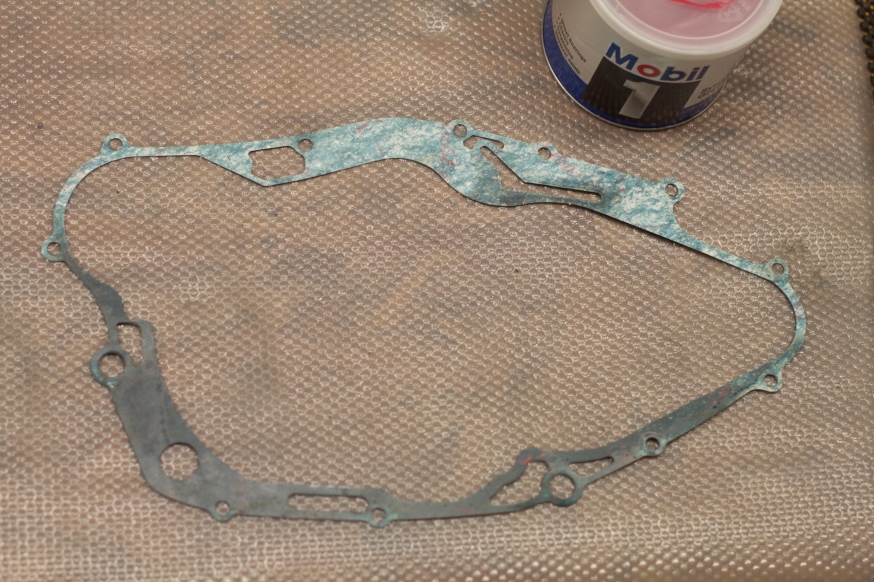
Added some grease to the gasket to create a strong seal.

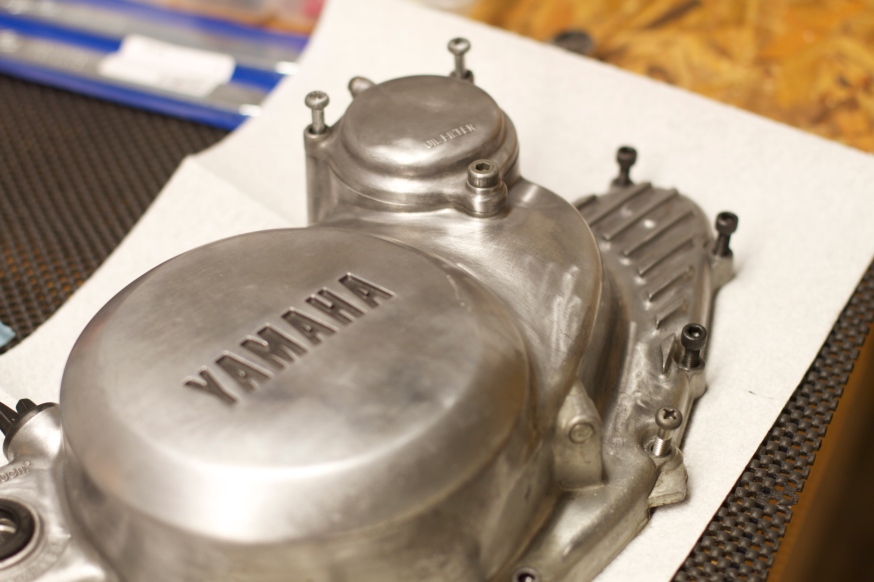
Removed all these bolts and added steel allen head bolts. Needed to make two bolts by threading and cutting off a longer bolt.

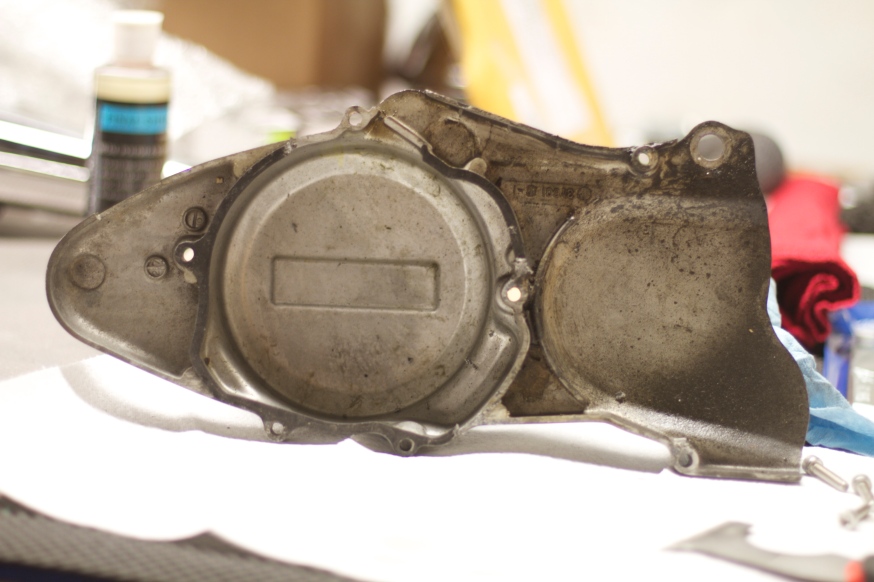
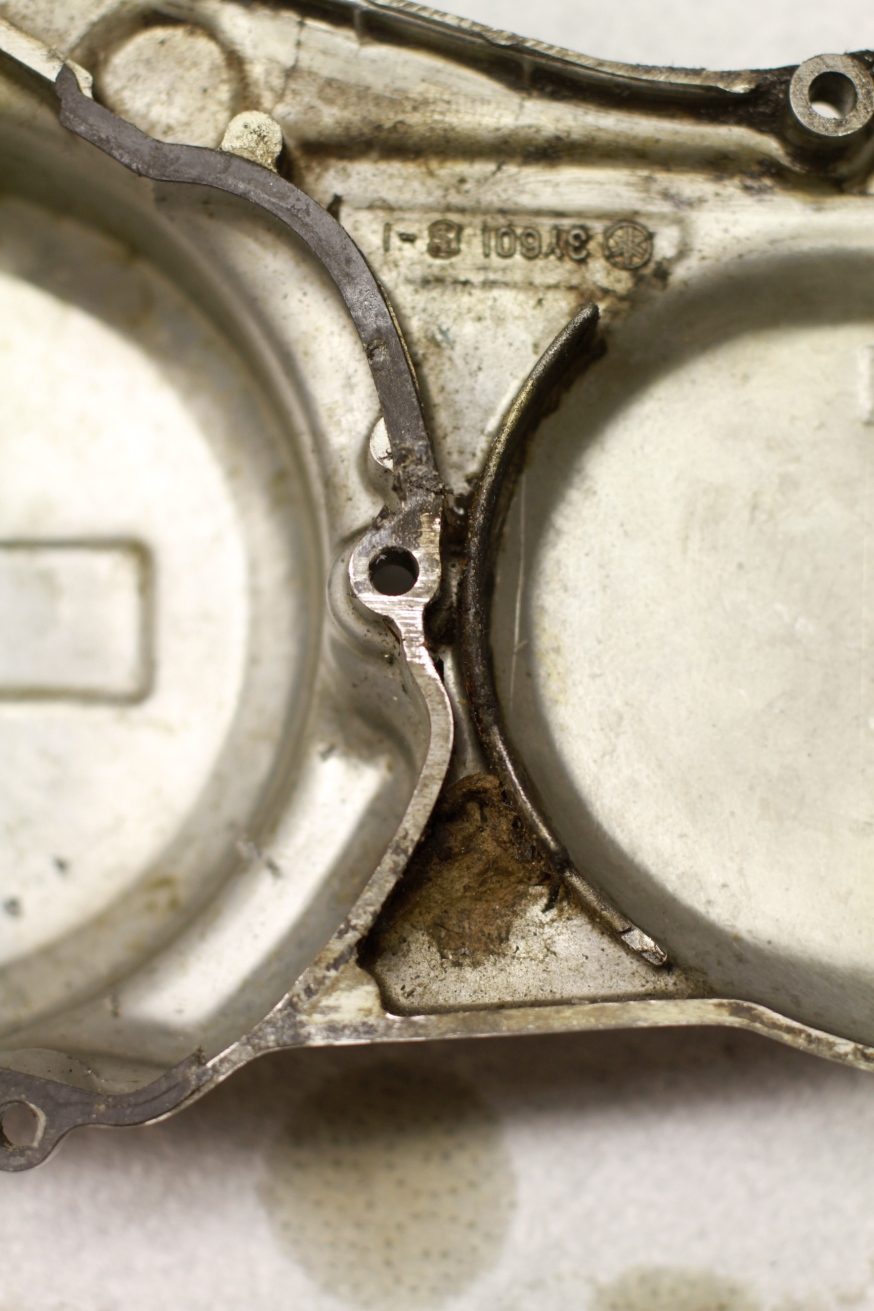
Needed to get the chisel to remove the 30 year old gasket fused the case.

Looks like there was a spiders nest inside the case.

Still need a chain breaker so I can put a new chain on the bike.

Exhaust, Frame and Rear Blinkers

Cut off the back brace so the seat lays flat. Looks like I need to drill a couple holes in the frame to screw the seat into place. I’ll need to shave the back of the seat down a bit so it lays flush with the frame. I’ll need to put a cross brace on the back so the frame doesn’t flex.

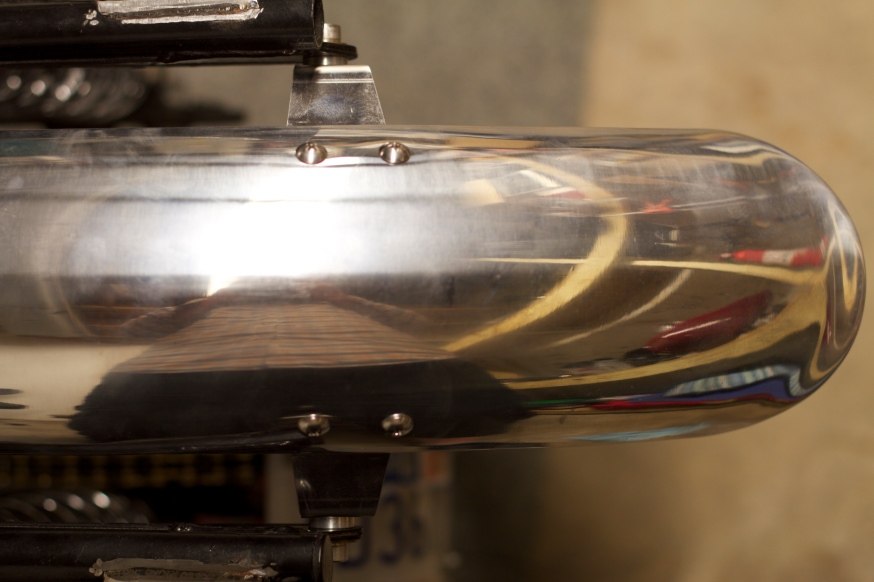
Also started the exhaust. Put black fiberglass wrapping on the header pipe to keep things cool when the little horses start jumpin’. Changed the 24in muffler to a 17in reverse cone which I still need to figure out how to mount to the frame. Plus it needs to be welded together. Got to figure out who can do that and how I’m going to get the bike there. Which reminds me . . . the electrical system . . . shit.


Needed a bigger hole for the new Daytona blinkers from Lloyd Vintage, so I made a couple.


Rear blinkers are on now. I need to find a replacement cap for the frame, new fenders, brake light and a way to mount the licence plate. So much work to do.

Speedo is now mounted

The 130mm allen head bolt came in, along with the brass washers so I was finally able to put the speedo on. The only trick being, the bolt was only threaded for 20mm. This meant I needed to go to Sears and pick up a die/cast set to thread the reaming 110mm. Cha ching.

Which then meant I needed to buy a vice grip to hold the bolt so I could thread it. Cha ching.

But the end result was a flush mount to the tripple clamp, just the way it needed to be.

Nuts and Bolts

Found some great allen head bolts to replace all the old phillips head screws. Those little old bastards are so easy to strip out, they needed to go so I stocked up. I found everything on ebay from seller searay340. His selection is awesome.

I found these bronze and brass washers from a closeout sale an ebay seller roland4937. The idea being brass and bronze will be the only color on the bike. I’m looking to strip the paint off the tank and clear coat it unfinished. The bike will be black, chrome and stripped metal with highlights of brass and bronze. Hopefully that dash of color will be enough. We’ll see.

The seat

Finding the right seat was a bear. I wanted a diamond stitch that didn’t look too flat or bulky. And the more traditional cafe racer seat would just look goofy on a 250 since the thing is not made of power. Luckily Webike has an amazing selection of parts, not for SR250’s per se but for the 400’s and 500’s. Which means I need to modify the seat to get it to fit.

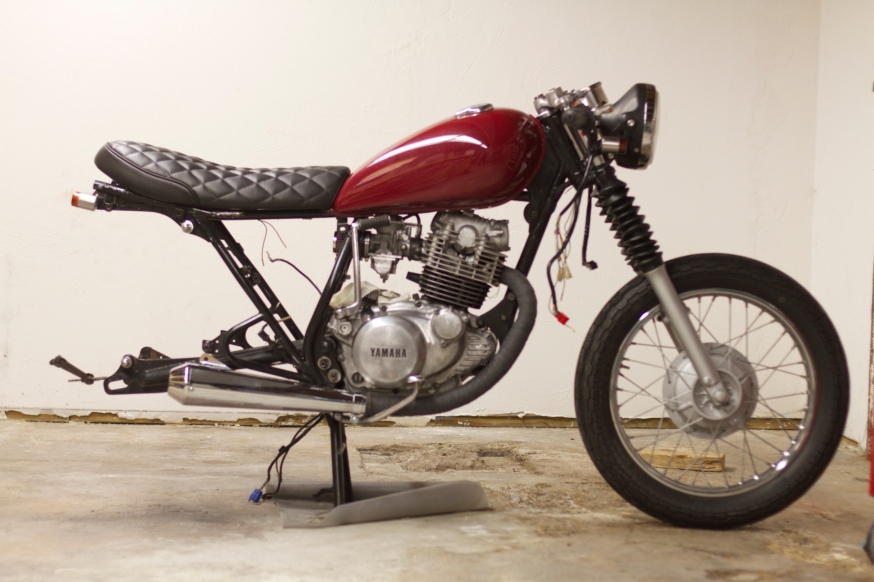
As you can see the seat doesn’t fit the frame. I need to cut off the riser on the back so the seat will lay flush.

Need to remove the metal brackets made for the SR400-500 models.

Cut the plastic and removed about a half inch of foam in order for it to lay over the frame.

I think after I cut off the back frame brace the seat should lay flat. Cross your fingers.

Headlight

The new headlight and blinkers came in. Took me awhile to figure out how to mount the headlight. A lot of rings and spring loaded screws to line up and put on in the correct order. But alas it’s on. Mounted the blinkers to the headlight brackets. I might need to put on some spacers so the blinkers are offset to be more visible to cars. But for now, form over function.

Back to the Front End

I bought a small speedo and new headlight case. I thought the 7″ case would fit my stock light but turns out the the headlight is 6 1/4″. I must have measured the case not the light. Looks like I’ll be buying a new headlight soon to fit the new case.

The speedo isn’t sitting flush with tripple clamp. I think I want it down 20-30mm. But promising.

Kick Starter Install

I always felt like there was something missing on this bike, a kick starter. After being at the mercy of a little battery and cold New England mornings. I decided to take the middle man out of the equation and put on what every motorcycle needs, a kick starter. So out came the engine and started looking for something that didn’t exist.

I found a few sites that when combined added up to a full kick starter kit.

CMS for the partial kit. There are a few things backordered or simply not made anymore.

Dillion Brothers if you know the OEM part number.

Had to go to ebay from the kick shaft. You can see an XT250 kick starter on the workbench but after seeing it on the bike I knew I had to find something nicer.

I found out after a few hours of tinkering and trying to get things to fit as described in the schematic that I had a few parts too many. Namely a large plastic bushing that held the large spring in place. The crankcase would not fit with it on but found the case was molded to fit inside the spring. Worries me a bit because the spring will be rubbing against the aluminum when I kick but there was just no way it could fit.