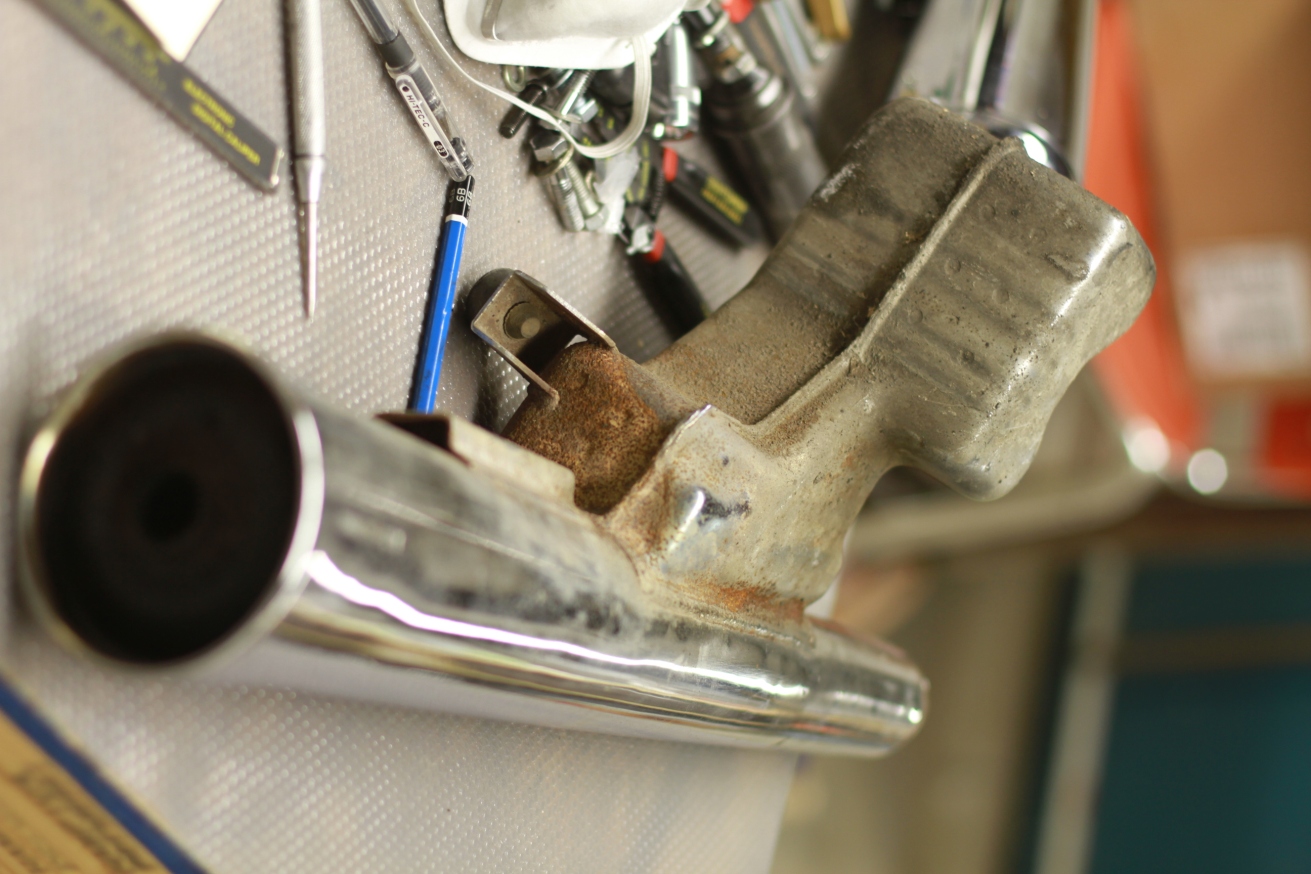
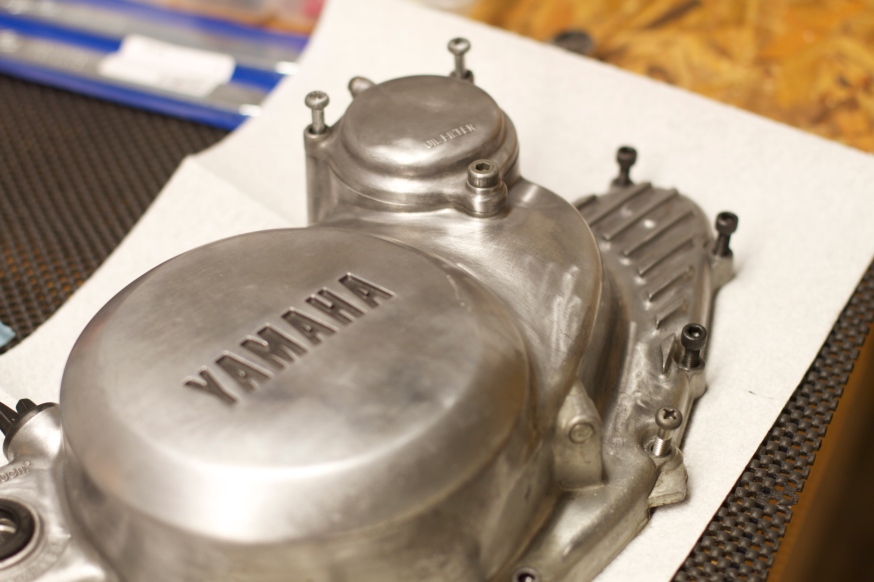
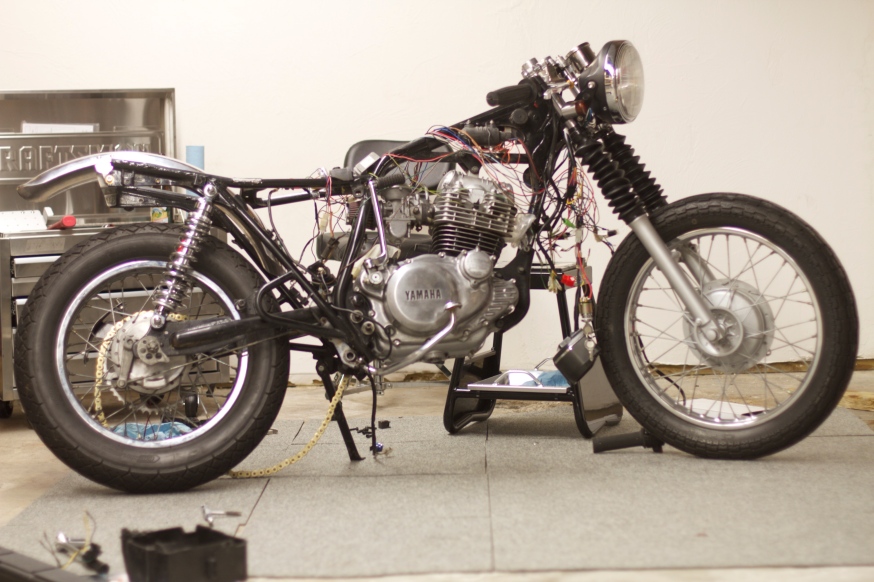
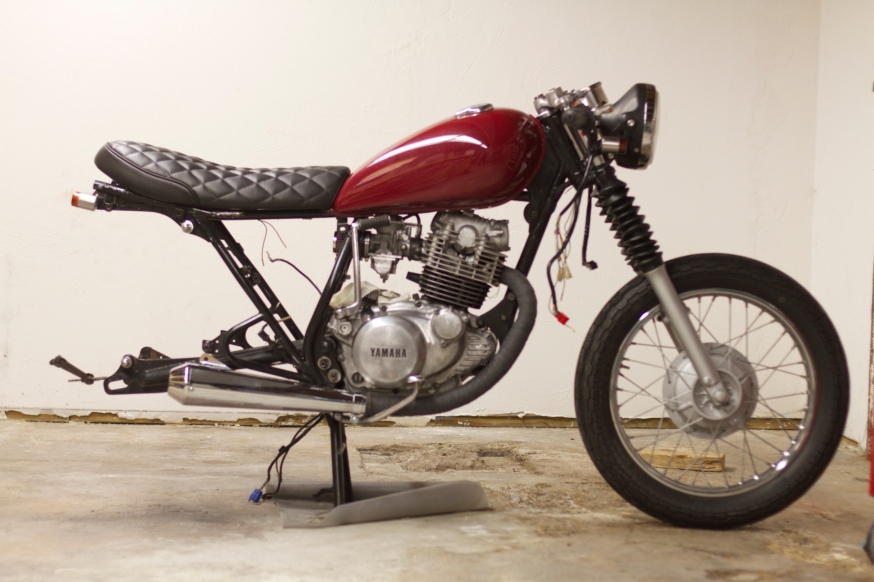
Picked up another kick starter. After getting the new exhaust welded on I found if you try and kick start the bike you end up trying to kick off the muffler. The old kick starter was too thick and rubbed the oil cap thus needing to be rotated backwards 10 degrees. Which sucks since I spent hours grinding off the thick base to try and fit it on. Luckily it only cost 15 bucks off ebay from a 1980 Yamaha XS400. This kick starter is a lot less bulky but does require a bunch of cleaning and polishing. Thus the new purchase from Harbor Freight of a 3/4 hp grinder/polisher. More on polishing later.
Starting Over
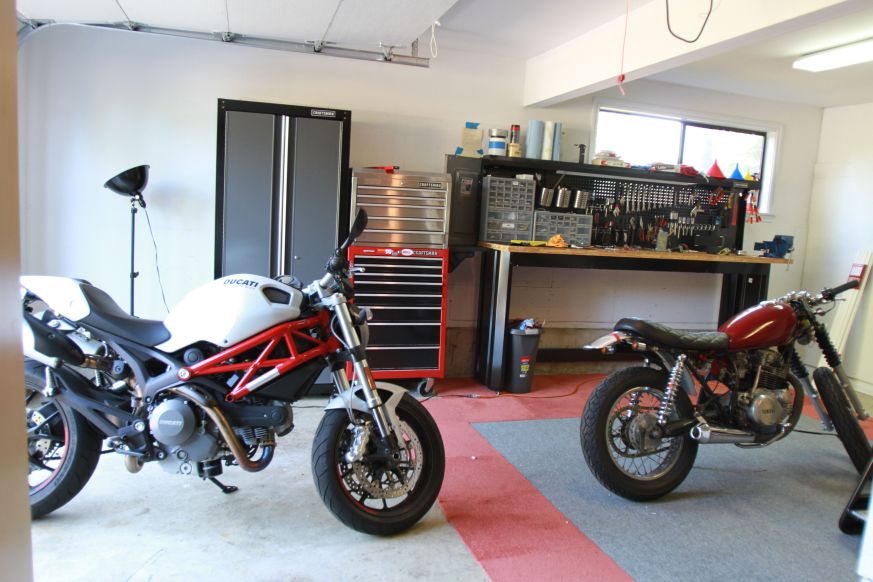
Setting up the workshop in my garage begins. Beats the hell out of the basement I was in back in Massachusetts. Had to spend a couple days degreasing the concret floor, which had about 30 years of oil losing cars parked on it. Figured the place would go up in flames if a spark hit the ground. The carpet will have to be replaced with some padded plastic somethin’ or other once I’m up and running with a welder. More on buying a welder another day.
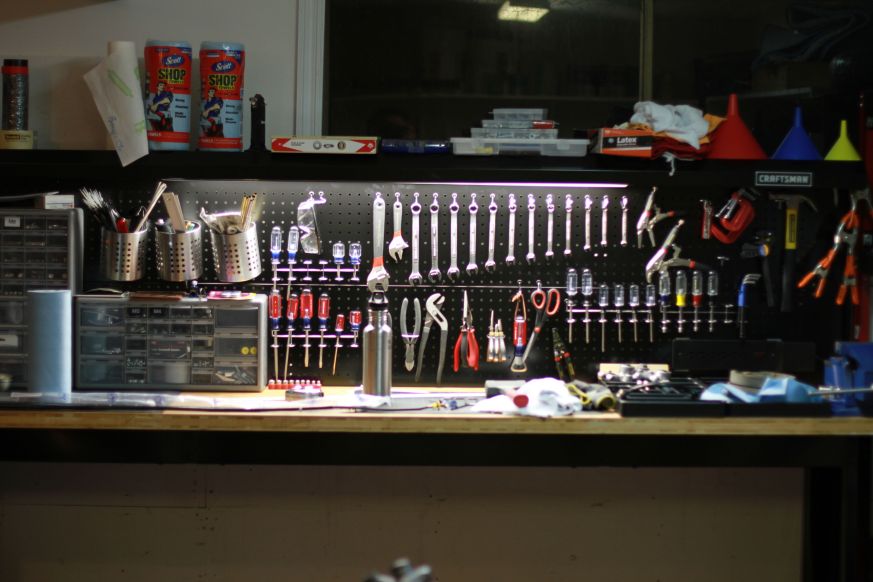
About took off my finger installing this Craftsmen 8′ Workbench. Total pain in the ass to put together as are most craftsmen bench and shelving units. After you bend everything back from getting beat up in transit you need to follow the cryptic instructions. I about guillotined my finger trying to install the back panel light. It’s a two man job I was trying to do by myself. One side slipped off and my finger was smashed between the back panel and the top light cover. Took about 2 weeks to get feeling back. But now I’m one step closer to getting organized.
Next will be a shelving unit to hold all the old and new parts during the SR build. Which I’ve decided to start over and do right. Before I wasn’t thinking I would not paint the frame or any other part on the bike. I wanted the older look but found the previous owner just rattle caned the hubs, thus some of the spokes and even the engine. It looks good 10 feet away but now that I’m putting so many hours into rebuilding and have another bike to take me to work on the rainy days I can completely build the SR250 to be pristine. Thus I’m starting over, breaking it all down to clean up everything nice and proper.
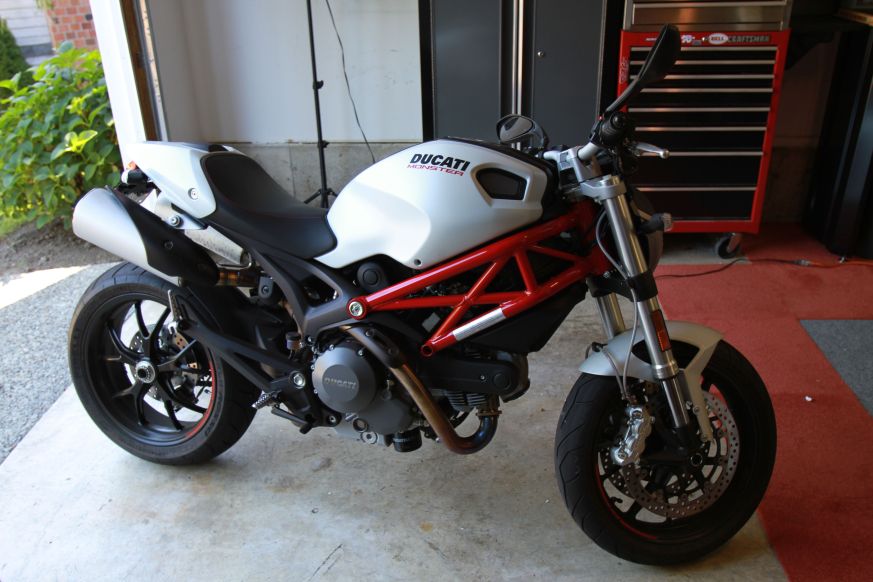
The SR has an Italian Monster 796 friend.
After spending the last 6 months moving cross country for a new job, buying a new home, getting the family settled in I could finally start setting up the shop again. Since the shop was out of commission so was the SR250. Therefore I needed a new ride that could get me to work everyday and more importantly, I wouldn’t want to rip apart. Buuuuuut, after riding the Ducati a few months I’m pretty sure I’m going to take the angle grinder and cut off the passenger peg arms and take off a bunch of the plastic. And while I’m at it put on some clip-ons, new mirrors, tripple clamp and either remount or replace the speedo. More on that later.
Moving to Seattle
My daughter looks on as the movers pack up all our belongings including the SR250. The bike has been on a Gentle Giant truck for a few weeks now waiting to be delivered to our new home. Hopefully closing day on the new house will be soon so I can setup my new workshop and get back to work and finish it all up.
Mounting the Seat
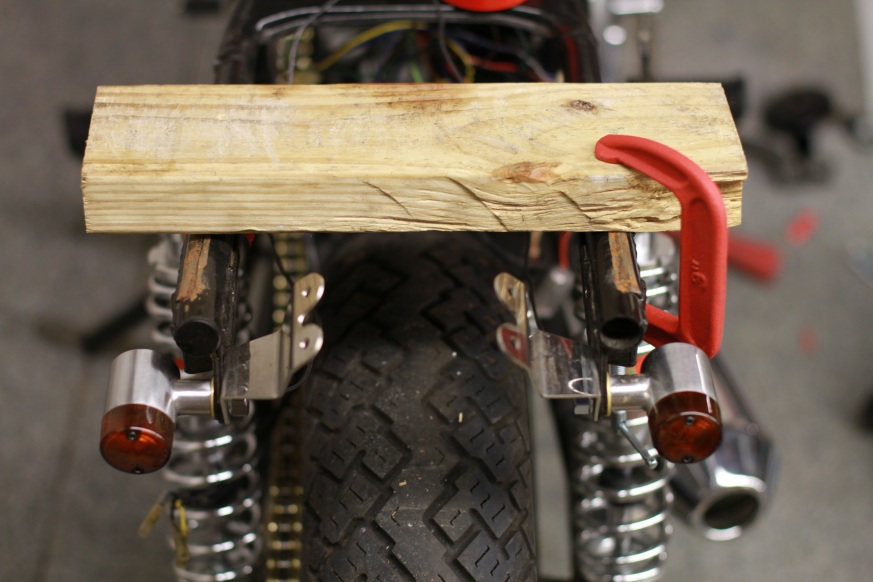
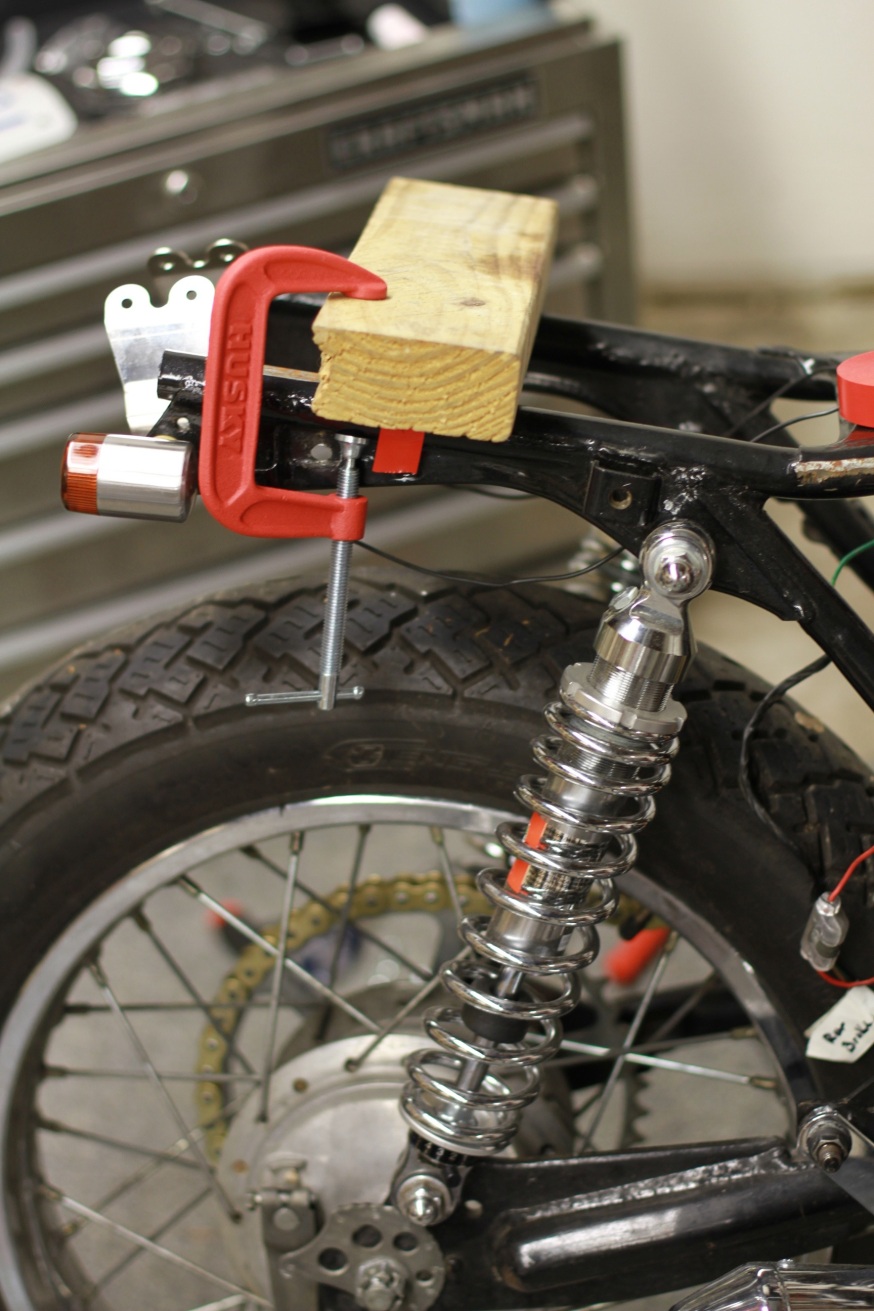
Clamped on a 2×4 to the frame to help drill a straight line all the way through. Which I did, except the seats bolt angle was about 5 degrees off center. So I need to drill out the top hole a bit wider in order to screw the bolts in. Which meant I needed to grind off some mounts from the frame. Not done yet since I need to wait till the weekend to grind and drill. Grinding wakes up the kids during my normal operating hours 10pm-2am.
It’s Back!!!
The past month my bike has been at the Boston Motor Sports service department getting the exhaust welded on. I wanted a bunch of other work to be done, like wiring, installing the seat, along with fabricating a battery box. But these tasks proved to be too custom for the shop and after holding my bike hostage for a month they finally threw in the towel. Stating, “this would have been great project over the winter but this would take us about 2 full days to do now,” which means they wouldn’t be able to service about 35 bikes. Good business decision, but I wish they could have told me they couldn’t do the work a month ago. Basically I’ll never have my bike worked on at a “regular” shop again, because if it doesn’t bolt on they don’t know what to do.
Pack it Up
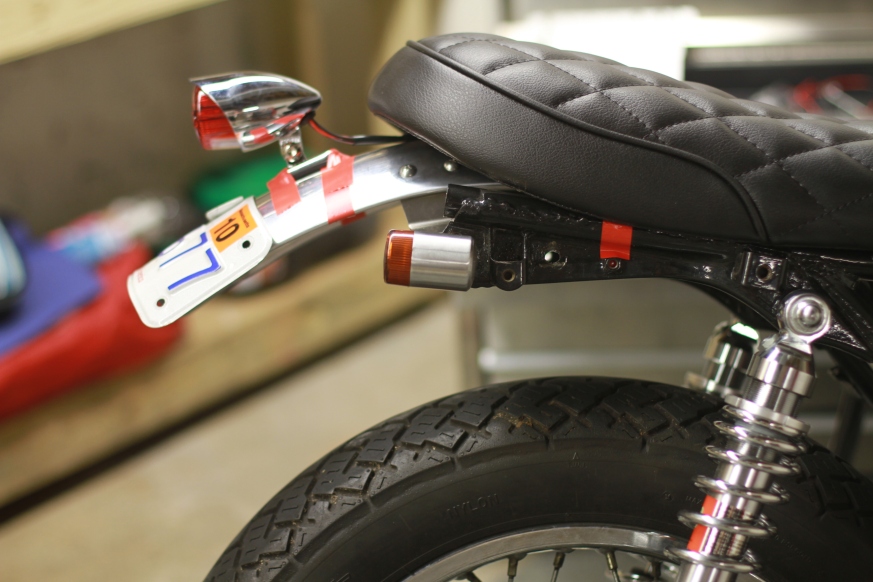
I scrambled to mount the taillight and license plate before shipping this project to GBM to do some welding and get it all wired up. But only got as far as red tape.
My good buddy Nate came by and helped push it up the basement stairs for pickup in the morning. My nights are now confusing, I don’t know what to do. I guess I need to find another project bike, I’m thinking 78 SR500.
I packed up everything the mechanic needs to get the wiring, exhaust, seat, battery and everything else needed to pass inspection.
Where to put the battery?
When I removed the air and battery boxes at the beginning of this project I knew I needed to find an answer for the question, “where the hell will I put the battery”. I love the stripped down look of having the center of the bike completely open, but knew I needed to put the battery back in. So what to do?
After taking off the stock exhaust I realized the muffler actually extended under the swing arm. Got me thinking if I had a small battery I could actually cut off the center stands mounting bracket, fabricate a battery box and then weld them together. Thus completely hiding the battery under the swing arm. Well I couldn’t do this but someone could.
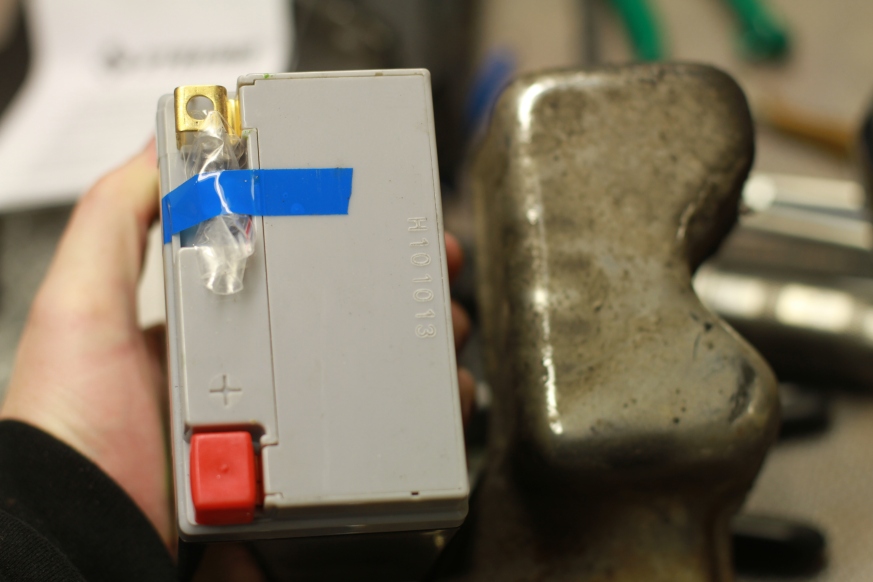
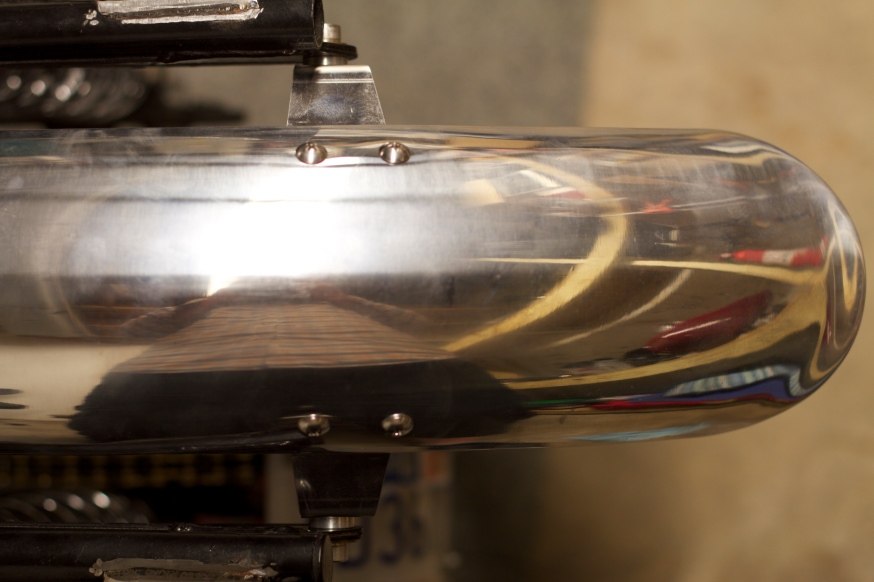
Battery is the same size as the mufflers silencer.
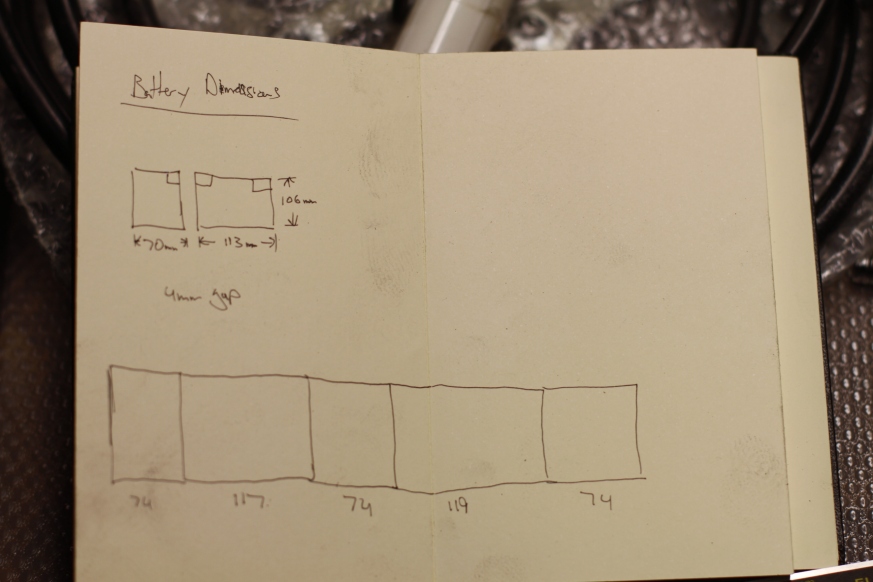
Measured under the swing arm and sketched up a diagram to figure out what pieces needed to be cut out for the battery box.
Stainless steel prepped and reading for bending? Cutting? I wasn’t sure what to do to prep the pieces for the battery box. Since I don’t weld I’m not sure if I’ll be making it easier or harder for the welder. So I ended up abandoning the prep and decided my wallet will have to finish the job.
Rear Fender / Shocks
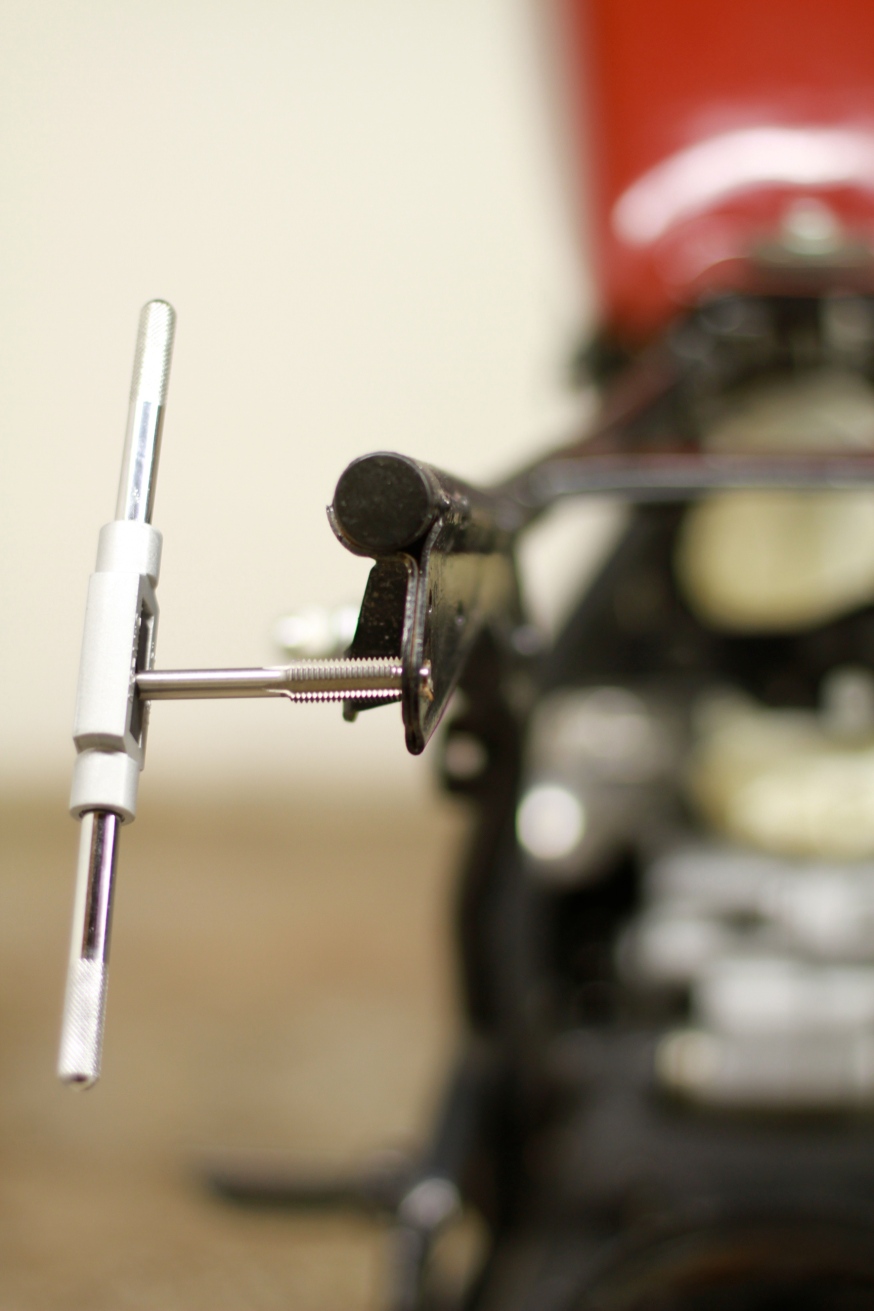
Did a ton of work tonight. Fitted the new rear fender and found out I mounted the blinkers incorrectly . The fender and blinker mounts needed to be switched. Which means I need to tap the frame to create a larger hole to hold the blinkers.
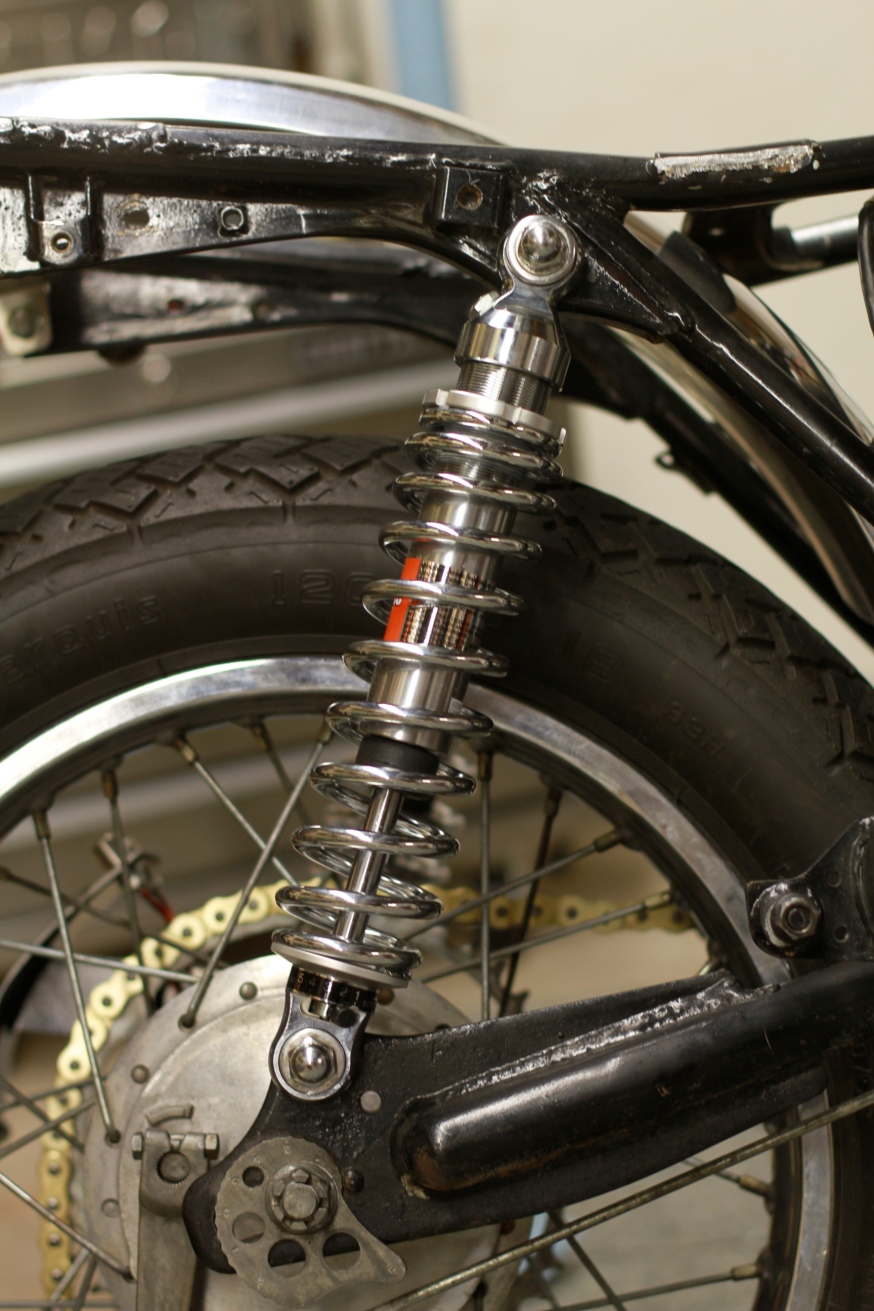
Put on the Bitubo 320mm shocks today. The previous shocks where around 285mm so I gained a couple inches. I’ll need it since the new seat will be 2-3in lower. I have a feeling this bike will very cramped for my 6′ 1″ frame.
New Bitubo shocks. I’m hoping these will be better than the stock version. The streets of Belmont are so bad that I would constantly bottom out.
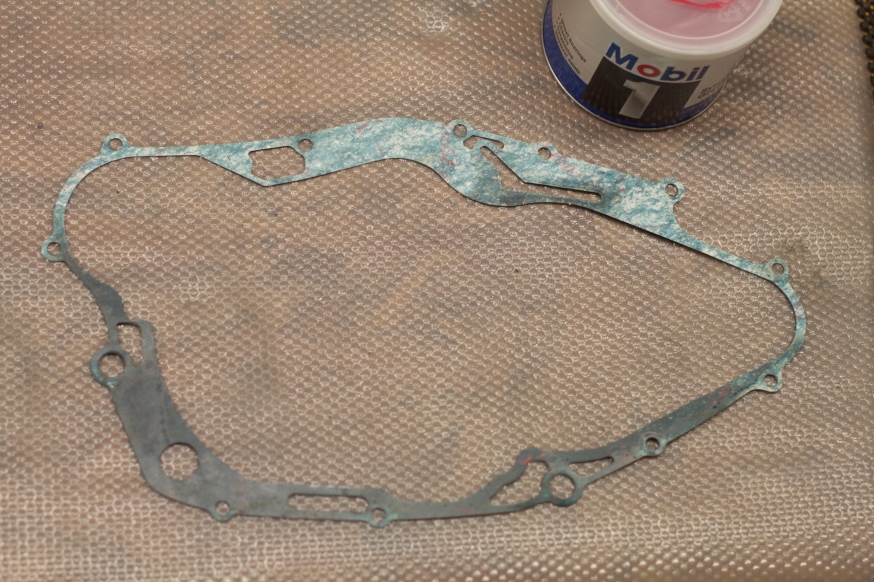
Added some grease to the gasket to create a strong seal.
Removed all these bolts and added steel allen head bolts. Needed to make two bolts by threading and cutting off a longer bolt.
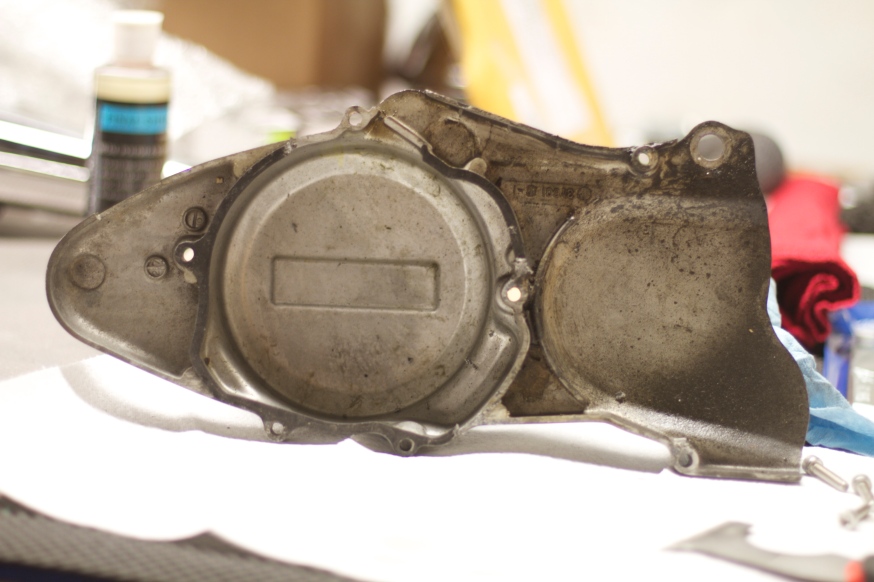
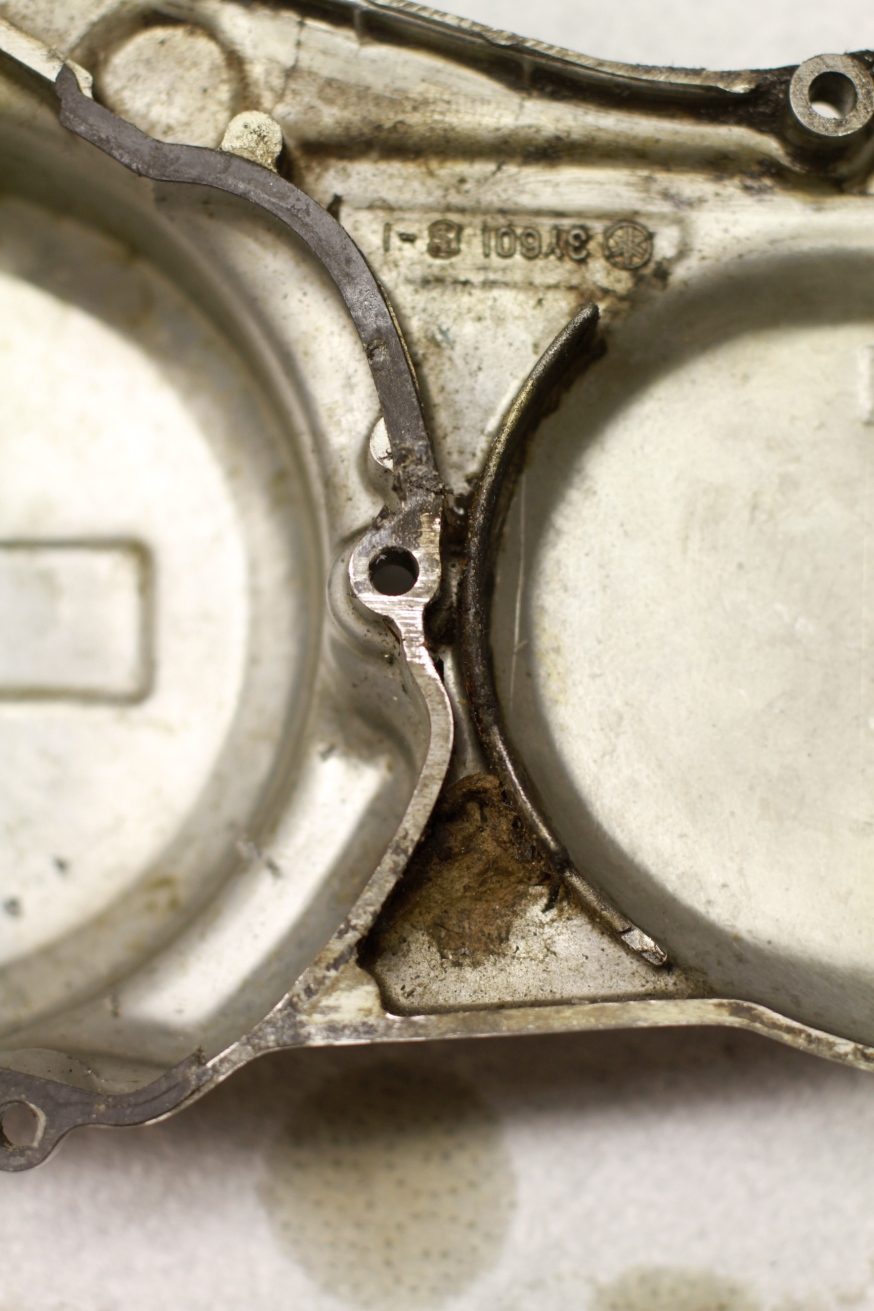
Needed to get the chisel to remove the 30 year old gasket fused the case.
Looks like there was a spiders nest inside the case.
Still need a chain breaker so I can put a new chain on the bike.
Exhaust, Frame and Rear Blinkers
Cut off the back brace so the seat lays flat. Looks like I need to drill a couple holes in the frame to screw the seat into place. I’ll need to shave the back of the seat down a bit so it lays flush with the frame. I’ll need to put a cross brace on the back so the frame doesn’t flex.
Also started the exhaust. Put black fiberglass wrapping on the header pipe to keep things cool when the little horses start jumpin’. Changed the 24in muffler to a 17in reverse cone which I still need to figure out how to mount to the frame. Plus it needs to be welded together. Got to figure out who can do that and how I’m going to get the bike there. Which reminds me . . . the electrical system . . . shit.
Needed a bigger hole for the new Daytona blinkers from Lloyd Vintage, so I made a couple.
Rear blinkers are on now. I need to find a replacement cap for the frame, new fenders, brake light and a way to mount the licence plate. So much work to do.

